Add, Remove Students
Both teachers and teacher admins can add students in the Dinolingo portal. However, before adding students, you must create at least one classroom.
To upload students in the Dinolingo portal, follow these steps:
- Log in to the Dinolingo: Use your credentials to access the portal.
- Navigate to the Classrooms Section: Find and click on the “Classrooms” tab.
- Add Students Manually (Easiest and Simplist)
- Click on “Add a New Student” or “Bulk Add Students” for a faster process.
- Enter the required student information (student name, student code.).
- You can add each student’s name and code one by one and save.
- Bulk Upload Students:

- Click on “Bulk Add Students.”
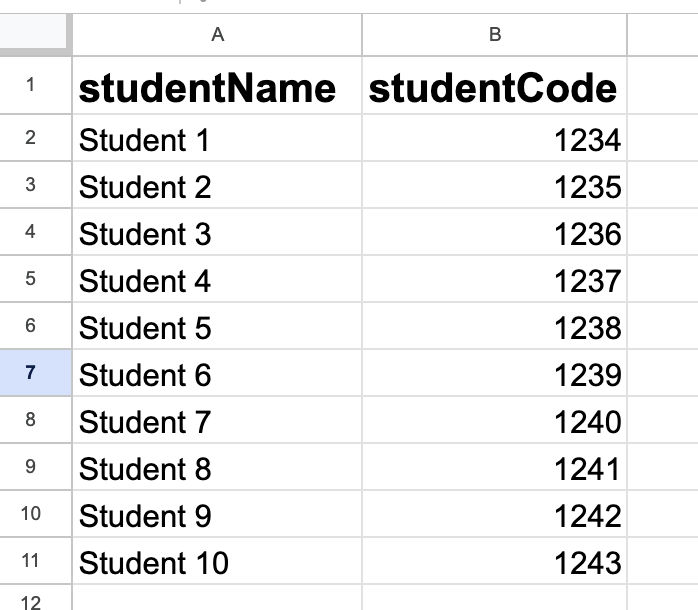
- Click on “Import CSV” option.
- Download the provided CSV template here.
- Fill in the required student details in the template (e.g., student names, student codes).
- Save the CSV file and upload it back to the portal using the “Upload” button.
- Review and confirm the student information to complete the upload.
- Review and Confirm: Ensure all students are correctly uploaded and assigned to the appropriate courses.
- Share Login Details: After uploading students, click on “Print Student List” to generate a list of login details. You can then share this information directly with students and their parents.
If you encounter any issues during the upload process, please watch the video (1:12 sec.) or contact support for assistance.